I was so excited about this present I made for Joshua I just had to give it to him as soon as I was finished and forgot to get the desirable home decor images I should have for this particular post.
So bear with me.
For this project you will need:
2 yds of solid fleece
3 yds of contrast fleece
scissors, pins, a sewing machine and a self-created pattern.
I designed these silhouette portraits of Josh and I for our engagement party invites and thought it would be cute to quilt them onto a blanket. So I did just that!
I used my original design to create the patterns.
I traced each of our heads in Photoshop so they would be their own image using the pen tool to create a stroked path.
I divided the image into 4 equal sized pieces and made each piece the size of 8.5" x 11"
I printed the quadrants and then taped them together to reform the shape.
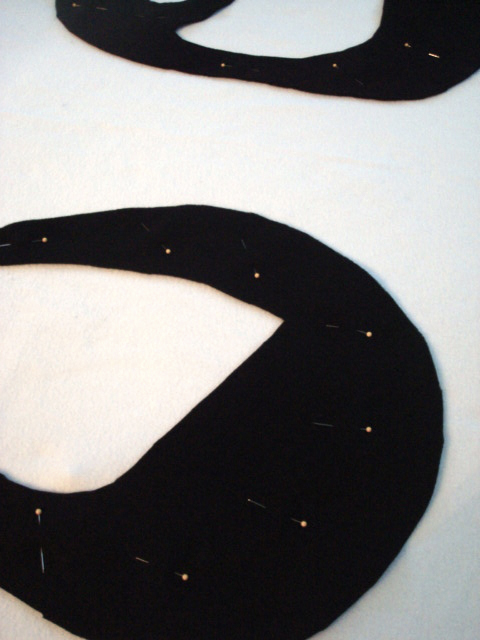
I cut out the pattern and pinned it to my contrast color.
If you are feeling artistic you could draw your pattern by hand on a piece of newsprint or tissue paper instead of fiddling around with Photoshop.
After cutting out my contrast pieces, I laid both pieces of fleece together on a flat surface and cut off the excess so both pieces would be the same size with fresh straight edges.
I pinned my shapes to the white layer of fleece and when I finally had them where I thought they looked good I moved onto appliqueing them to the blanket.
I used an wider decorative stitch to sew on the appliques. I wanted to insure that they would handle being thrown in the washer. But I'm sure any ol' straight or zigzag stitch would do just fine.
Once the appliques were sewn on I finished the blanket but placing right sides together and sewing around the edges. I actually only sewed 3 of the 4 sides and then hemmed the 4th side to create the option of a sleeping bag as well as a regular blanket.
And here it is!
Cute, right?
(Imagine all of the possibile shapes you could create!)
Happy sewing!


